
In this guide, we’ll take you step-by-step through the process of preparing and uploading your very first wearable using Unity and the Somnium Unity SDK. It’s the third installment in our Creator Series, where we’re exploring how to bring custom avatars, wearables, and immersive experiences to life in Somnium Space.
If you haven’t yet set up Unity and the SDK, be sure to check out the first article: Somnium Space Creator Series: Step One – Installing Unity and the SDK
To create and upload your own avatar, check: Somnium Space Creator Series: Step Two – Uploading Your Own Avatar
This series is built on Somnium Space’s official tutorial videos and documentation, so if you’re eager to jump ahead, those are excellent resources to explore right now.
What is a Wearable?
A wearable is a digital item that your avatar can wear. Think of it as virtual clothing, accessories, or gear – anything from hats, glasses, and shoes to futuristic armor, wings, or even animated costumes.
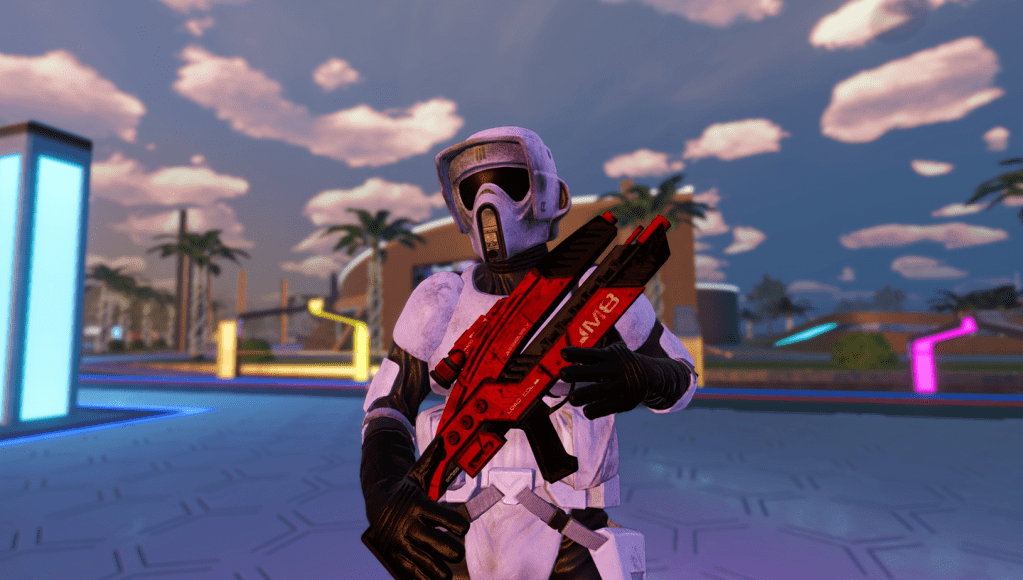
For example, the below Mass Effect M8 Avenger Assault Rifle (be very scared), is a wearable.
Creating a Wearable from Scratch
Creating a wearable typically starts typically with 3D modeling software like Blender, Maya, or ZBrush. After modeling, textures and materials are added to give the wearable color, surface detail, and realism (or stylization, depending on the intended design).
Modeling from scratch is beyond the scope of this guide, so we will focus on downloading an existing (free) wearable and preparing that one for upload to Somnium Space.
Finding a Wearable
A good site is https://sketchfab.com/, a resource with plenty of free stuff.
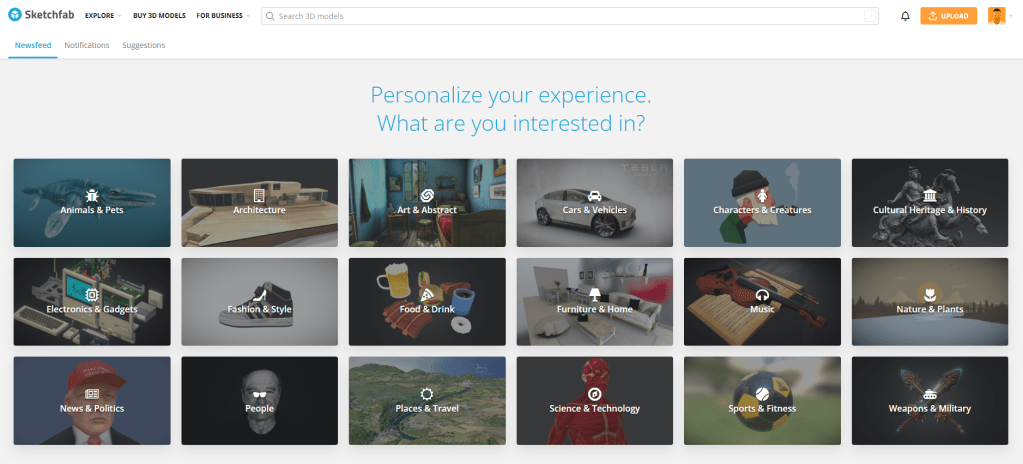
For the purpose of this guide I am going to use this free cowboy hat.

Quick tip: Unity supports a wide range of asset types, including the 3D model formats FBX and OBJ. Additionally, Unity can import models from other formats like Collada (.dae), 3ds, and DXF. FBX is often recommended as a best practice due to its ability to preserve animations and materials during import.
✅ After download, create a folder in Unity for your wearable.
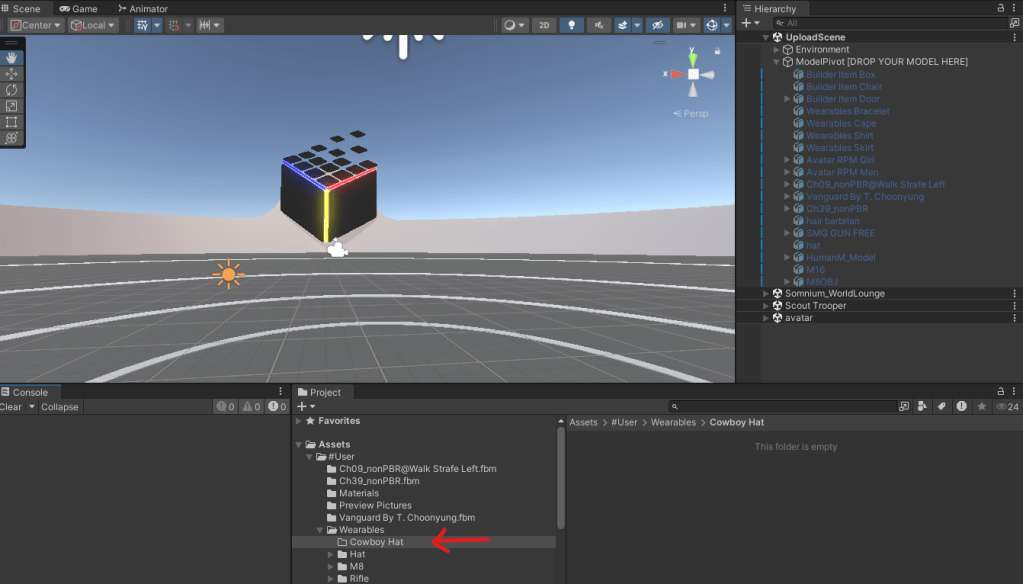
✅ Right click on your new folder.
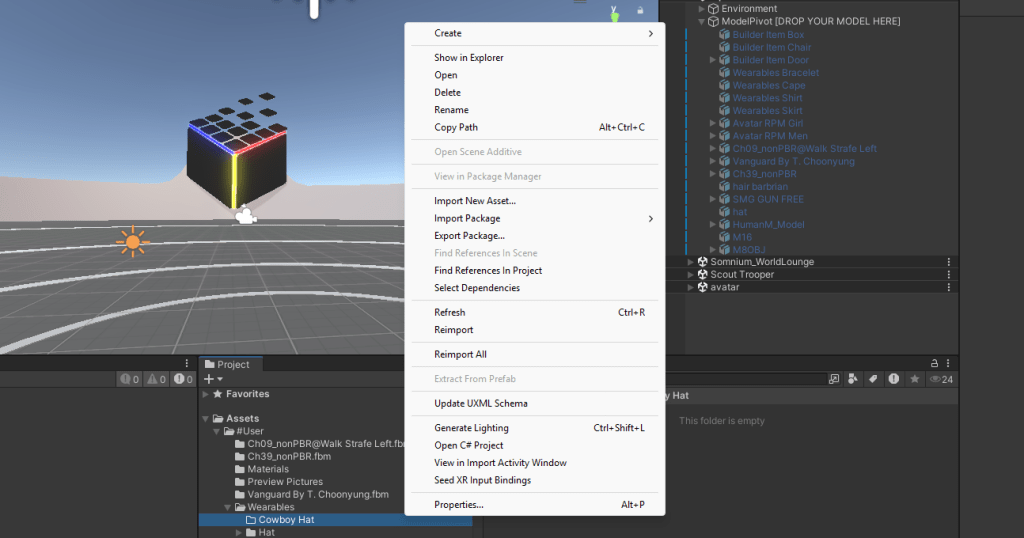
✅ And import the downloaded asset via Import New Asset.
✅ Select the imported asset and click extract materials in the Inspector pane.
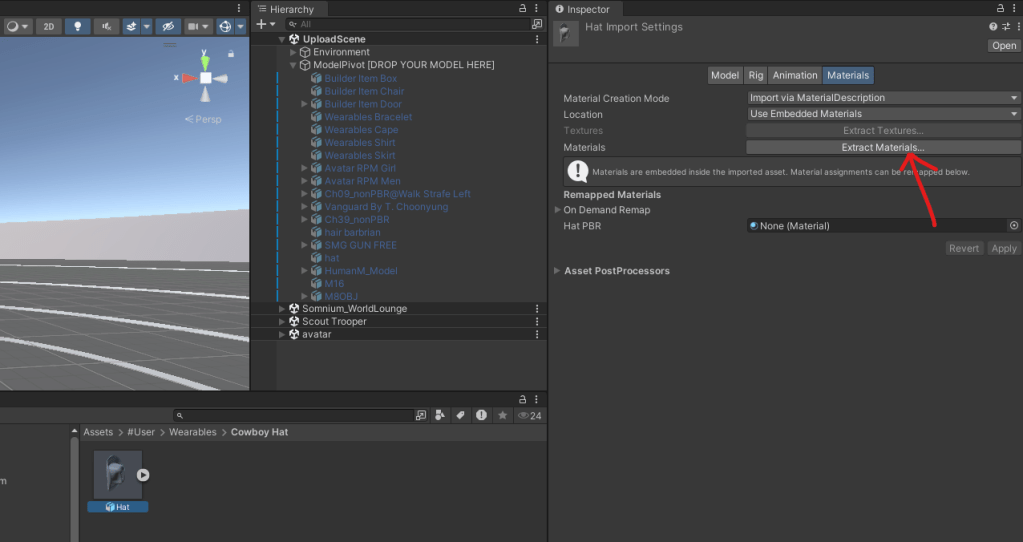
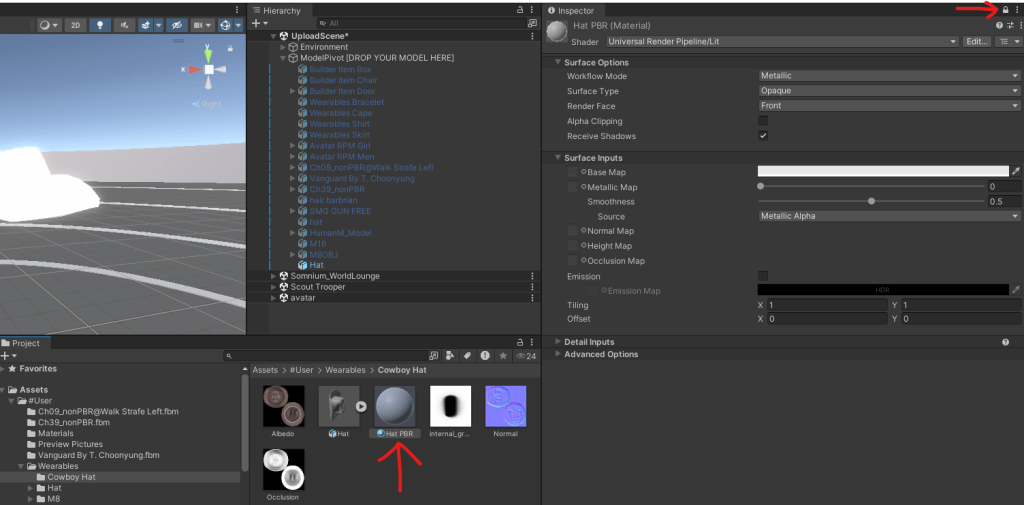
We’ve now got a material.

✅ Next import any textures that came with the downloaded object. Just right-click in the Project pane and use the Import New Asset option.

✅ Now drop your model onto where it says DROP YOUR MODEL HERE in the Hierarchy pane.

Note that it will be white. That’s because we have not mapped any of the textures onto the material. In case your object shows as pink, make sure to set the shader for any material to Lit or Simple Lit (select the object in the Hierarchy pane and check shaders(s) in the Inspector pane).

✅ Select the material in the Project pane and then the tiny lock in the Inspector pane.
✅ Drag textures into their respective slots.
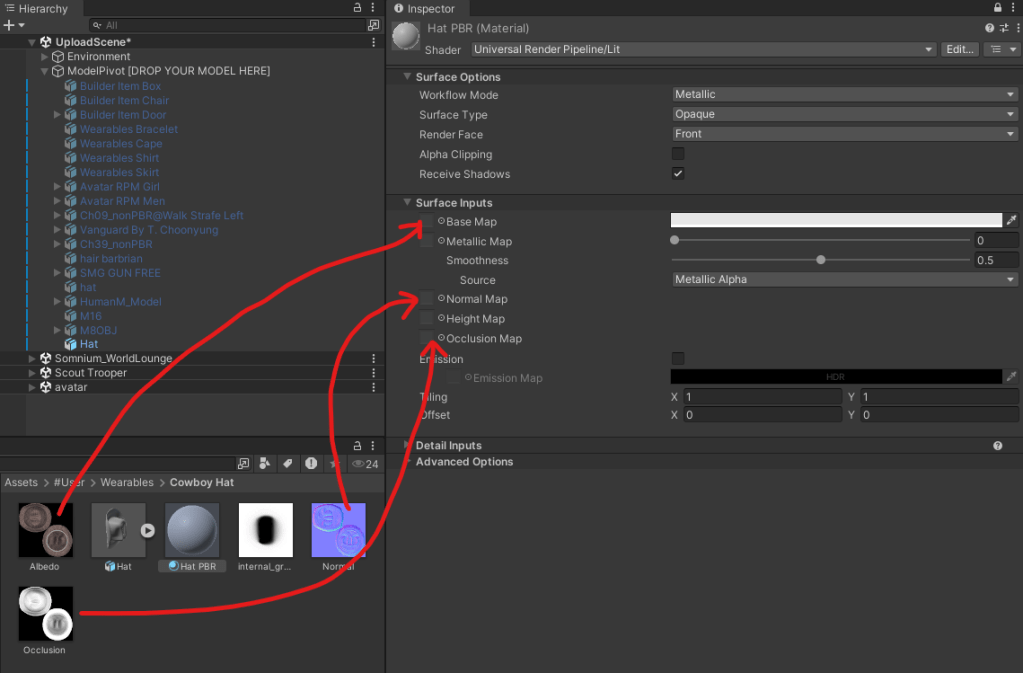
You will notice the textures are now properly applied in the Scene pane.
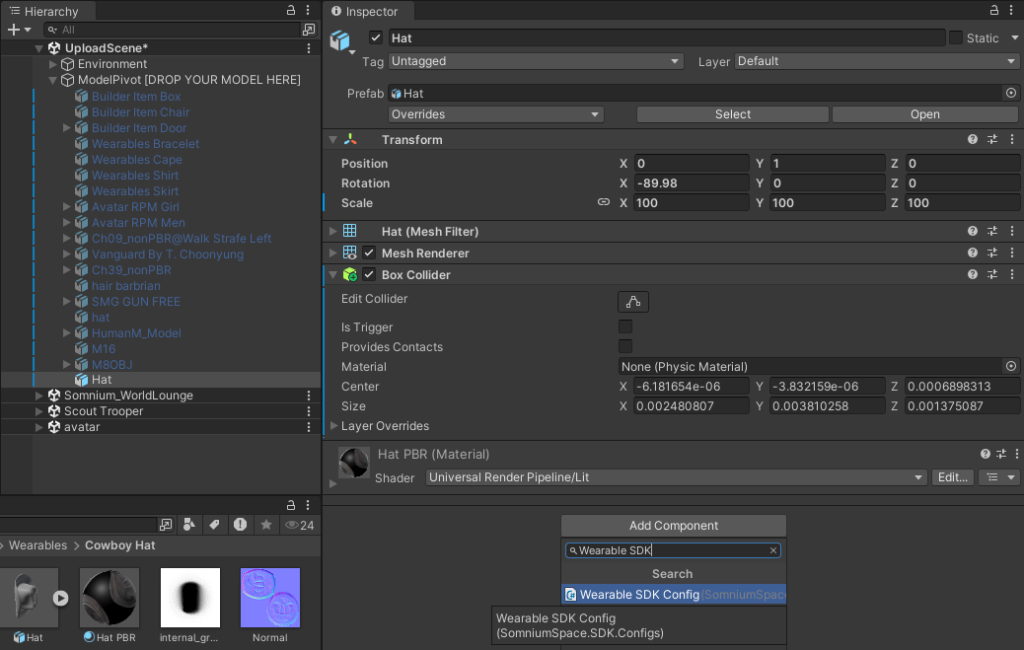
✅ Select the object in the Hierarchy pane and click Add Component in the Inspector pane. Add a Box Collider.

✅ Add another component called Wearable SDK Config.
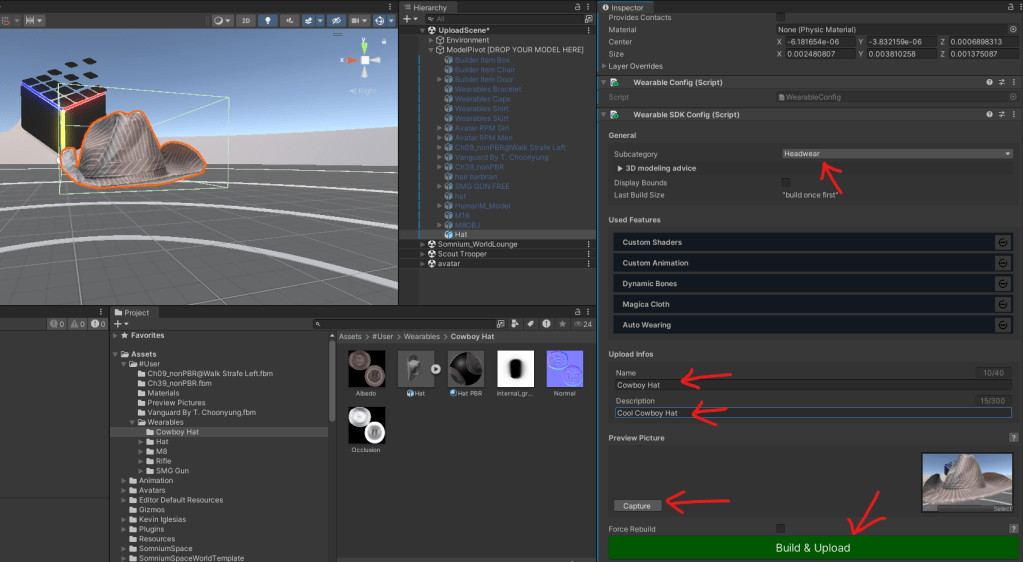
✅ Select the proper category and enter name and description.
✅ Click Build & Upload
If all is well, there are no errors.
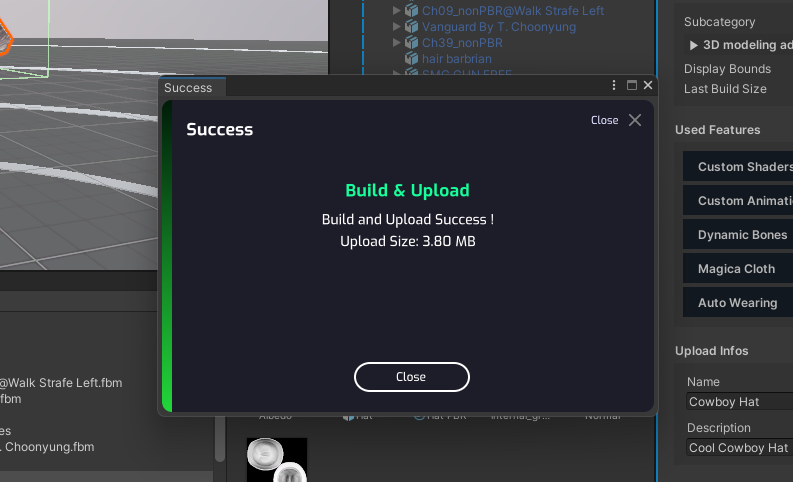
✅ Click Build & Upload again.

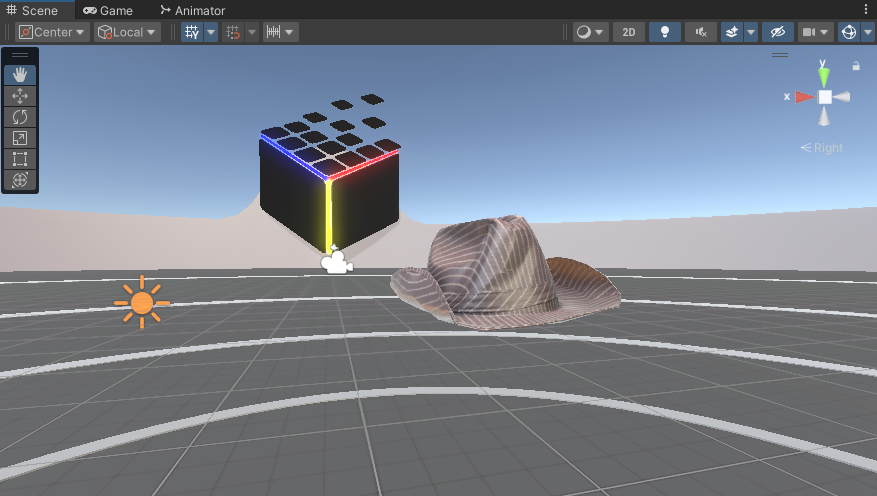
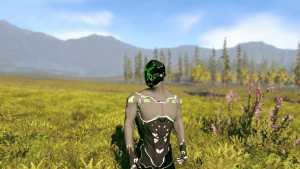
Success! We have uploaded the cowboy hat to Somnium Space.
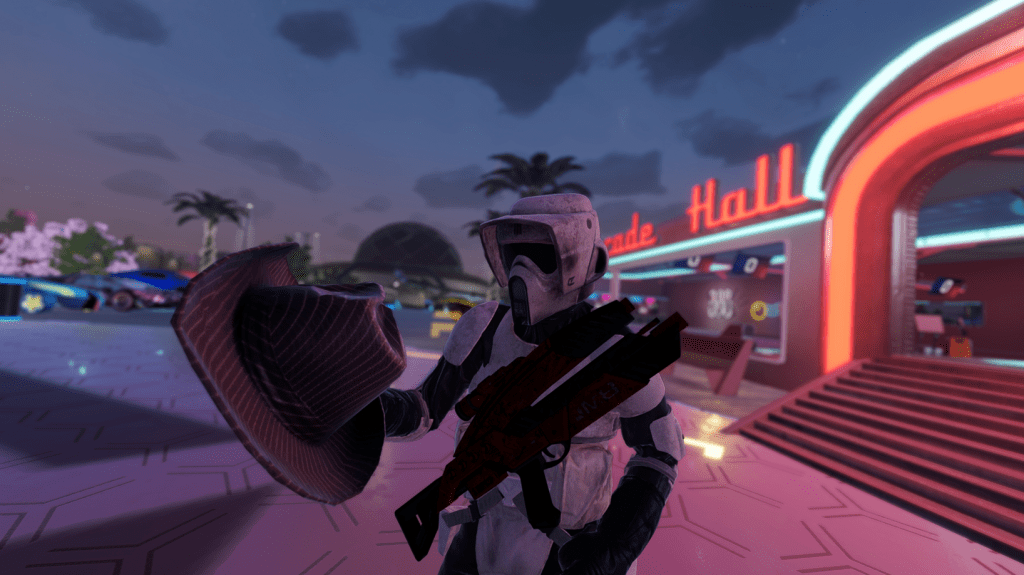
Here you can see me admiring my new hat.
About Somnium Space
Somnium Space, the company behind the VR1, also runs a blockchain-based virtual reality platform that allows users to create, experience, and monetize content and applications. The platform is committed to building a decentralized and immersive VR world that offers users a unique and engaging experience.
Discord: https://discord.gg/somniumspace
Authencity: https://authencity.io/user/somniumspace
Follow the Somnium Times
Authencity: https://authencity.io/user/SomniumTimes
YouTube: https://www.youtube.com/@SomniumTimes
Instagram: https://www.instagram.com/somniumtimes/


Leave a Reply