

The Somnium Space Builder is an easy to use tool to for creating structures and uploading those to your parcels in Somnium. It has a simple, clean interface and although it is not a full blown 3D modeling tool, you can make beautiful and elaborate objects. Have a look at some of the buildings below. They’re all constructed with the Builder.
This article is part #1 of a series of Somnium Space Builder tutorials. Stay tuned for more.
Other turotials


Note that you do not need a parcel in Somnium Space to start having fun with the Builder. It comes with test parcels so you can practice your building skills without owning any land.
Somnium Space Builder
You can start the Builder via the Somnium Space Launcher. If you do not have the Launcher yet, head over to the Somnium Space website and click ‘Download Client’ in the upper right corner of the screen. After download and installation, start the Launcher and let it update itself. Note this may take some time after first startup.

After the Launcher has updated, you need to create a Somnium Space account if you do not yet have one. Click ‘New Account’ at the bottom left and follow the instructions.

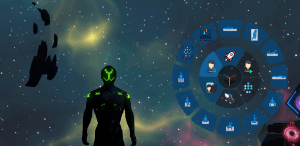
After successful login the Launcher will allow you to go into VR mode (for those who have a VR headset), 2D mode (allowing you to roam Somnium Space and interact with people and objects without the need of a VR headset) or start the PC client. The PC client is what you need to start to access the Builder tool.

After starting the PC client it defaults to the Builder tool and should show the following UI. If not, select the Builder tool and deselect other tools in the Tools section at the bottom of the interface.
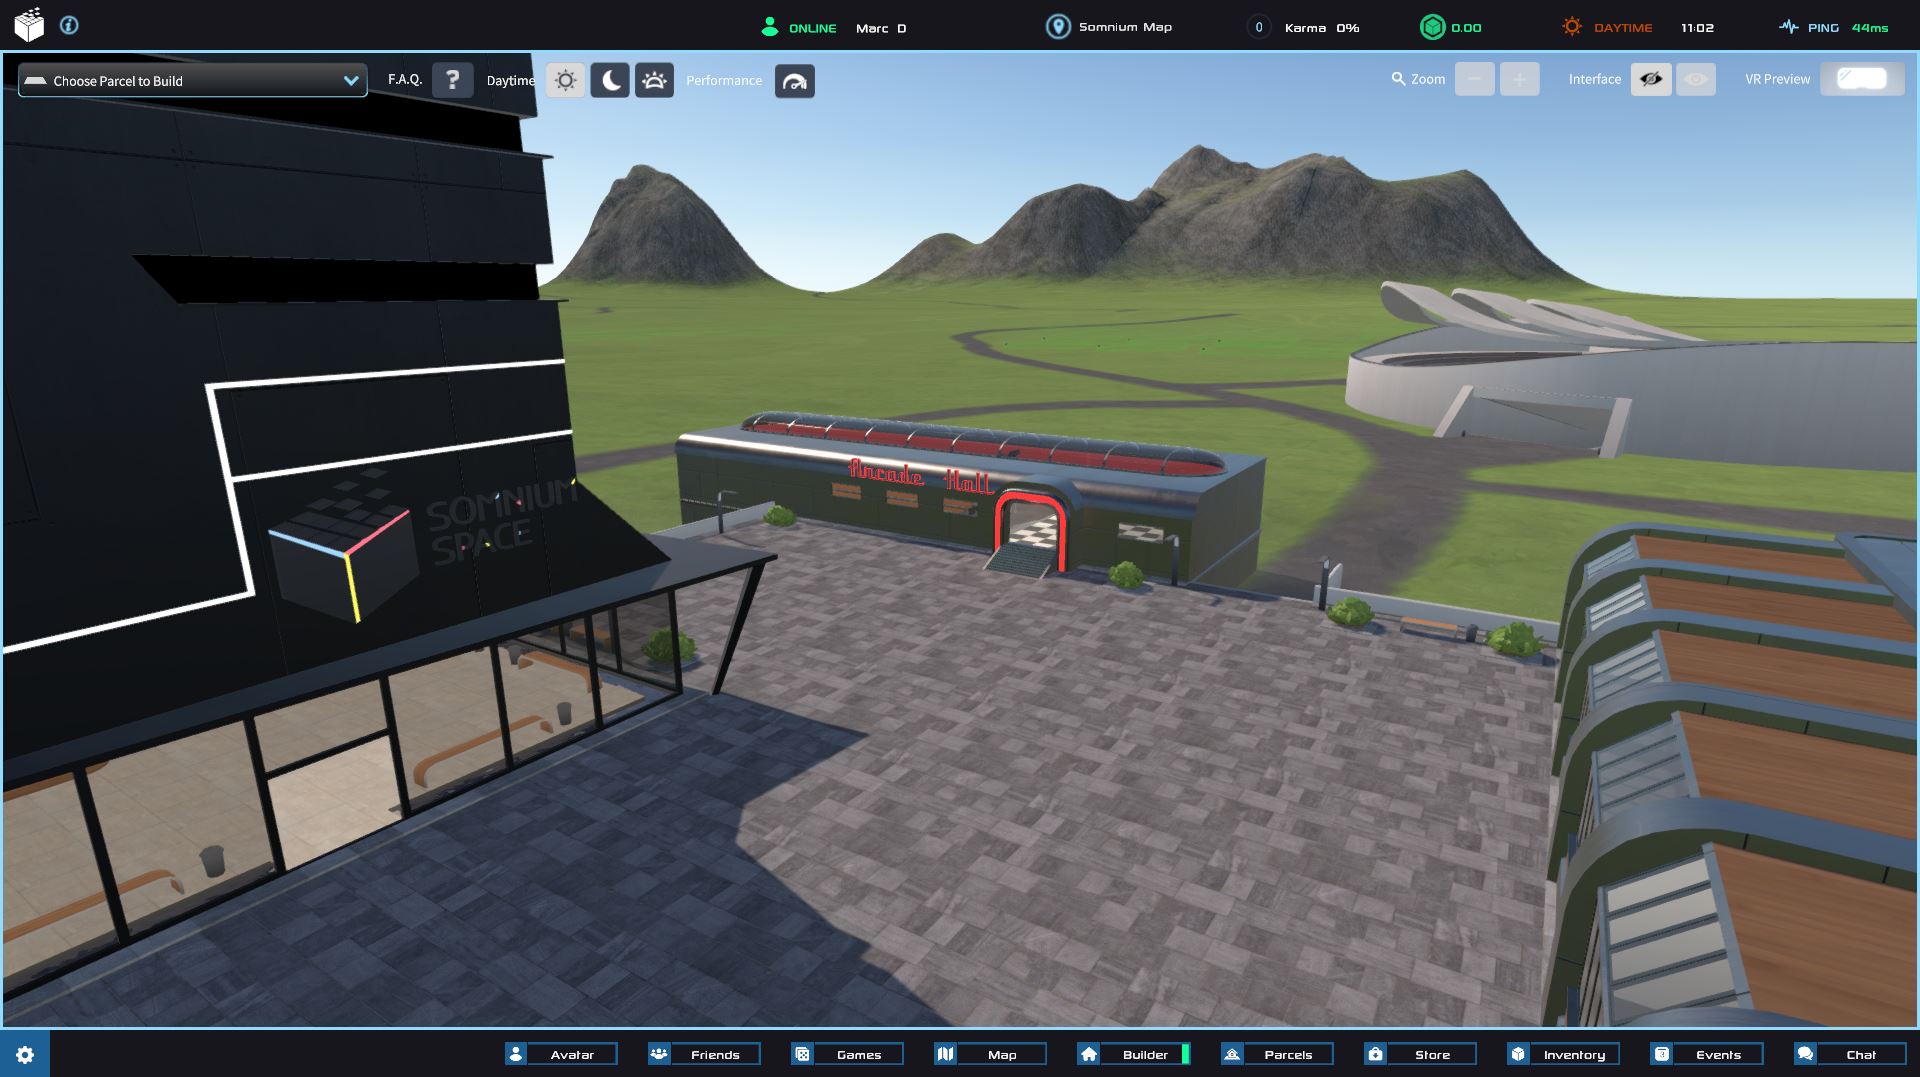
Note that selected tools have a green ‘light’ next to them.

Now select [XL] Test parcel in the Parcel selector in the upper left corner of the UI.

This will bring you to the test parcel on which you can freely build.

Main controls
The Builder UI has a number of features that allow you to
- Pick and place objects on your parcel
- Manipulate placement and dimensions of objects on your parcel.
- Apply standard or custom textures and color to objects on your parcel
- Manipulate other object specific properties (for instance opacity for glass objects)
Pick and place objects
You can access all objects via the Inventory Category control at the bottom of the UI.

When you select a category, the applicable objects appear below it.

When you click an object it will be placed on your parcel.

Now move your mouse around the parcel. The object moves along. Once you found a good spot to drop the object by clicking the left mouse button (LMB). If you successfully place it you will see the blue, red and green handlers appearing.

If you want to remove the object again, make sure it is selected (it is if the handlers are shown and the object has a yellow outline) press Delete (DEL) on your keyboard.
Manipulate placement and dimensions
You can manipulate object placement and dimensions using the red, blue and green handlers. Depending on the mode, you can do the following:
- Move the object
- Rotate the object
- Scale the object
You can select the mode using the Move, Rotate and Scale controls. Depending on which one you select, the handlers will change.

To practice, simply select an object, pick a mode, and move your mouse pointer over a handler. It will change color to yellow. Then hold down your left mouse button (LMB) and move your mouse. In this way you can change the object’s position on your parcel, stretch it in one or more directions and rotate it.
You can also duplicate selected object by using the Duplicate option.
Go ahead and place a few more objects on your parcel.

Camera zoom, orbit/rotate, pan/dolly
Now that you have placed a few objects on your parcel it’s time to have a look at how you can change your (or rather the camera’s) viewpoint. You can make the following basic movements:
- Zoom to zoom in and out of your scene (mouse wheel or zoom control on UI)
- Orbit to rotate the camera around a central spot on the parcel (hold down right mouse button and move the mouse)
- Pan and dolly to move the camera to the left and right or forward and backward (arrow keys on keyboard or WASD keys)
The best way to understand the effect of each is simply to play around with it. But if you want to have a bit better grasp, the following illustrations can help.
When you orbit the camera, it orbits around a central point on your parcel (not necessarily the center). Your field of view however stays the same.

When you zoom in or out you change the field of view, but the central point stays the same. You will notice that if you zoom in or out and then orbit the camera. You will see that regardless how much you zoom in or out, the camera will orbit around the same central point.

Finally, when you pan or dolly it is like you walk with your camera. For example towards an object on your parcel. This will move the central point accordingly. Best way to test this is to dolly and then orbit the camera. It will rotate around a new center.

Apply textures and color
You can apply textures to and color your objects using the Object Paint Color and Object Texture controls in the lower right corner of the UI.

Select the object you want to apply a texture to and select a texture from the Default Textures list.

And click Apply Texture

The texture will now be applied to the selected object.

To color an object, select the object, pick a color in the Object Paint Color control and press the Apply Color button.

Saving your builds
To save your build simply click the save icon in the lower left corner of the UI.

It is suggested to save your build regularly. Note also that even if you are building on a test parcel, you can come back later and pick up where you left off (if you save).
As you can see there is also an Upload button. This applies only if you are building on your own parcel. Upload will submit the build to Somnium’s servers and make it available in Somnium Space for everyone to see in VR.
Other option include:
- Undo for undoing your latest changes
- Clear Parcel to clear the entire parcel.
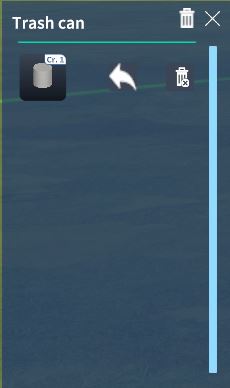
- Trash to open the trash bin. Deleted objects first go to the trash bin. From there you can either restore or delete objects.
Building limitations
Every parcel has a certain limit as far as how much you are allowed to build on it. This is Somnium’s way to ensure optimal performance.
In the lower left corner of the UI you can see a little ‘credit counter’. It tells you how many credits you have used of the parcel’s maximum.

Note that objects can be more or less complex. Simple objects may count as only 1 credit whereas more complex objects can use up 50 credits (or even more).
Final notes
This first tutorial only scratched the surface, but it should give you a good grasp of how the Builder works and get you started with building your own awesome structures for Somnium Space.
Even if you get stuck (or have questions) do not despair, the community is here to help!
Happy building and see you in Somnium!

Leave a Reply